
Underwater Colour Correction Using GIMP
I posted a past article on how to colour correct underwater photos using Photoshop. Photoshop is the top photo editor and I have been using it for colour correcting both underwater photos as well as videos for a few years. However in my specific case, my Photoshop is installed in an old Macbook as I do not have it in my current Macbook (since I don’t want to pay for a new version of Photoshop). My newer Macbook unfortunately cannot run the older version of Photoshop I still have in my old laptop. So I’ve been importing any underwater photos I want to colour correct into my old laptop and then transferring corrected images into my new Macbook.
I do have a free photo editor in my new Macbook called Photoscape but it just doesn’t do a very good job in colour correcting underwater photos. I have been using a free video editor called Shotcut to colour correct underwater videos and it does an okay job but it doesn’t work with photos (at least not that I know of).
Recently, I found a free photo editor called GIMP that is said to be a decent Photoshop alternative and since it’s an open source program, it’s being continuously improved and updated by users out there. One great thing about GIMP besides being free is that you can download either Microsoft or Mac versions! So all scuba divers out there who take underwater photos should be able to use GIMP.
I found a great tutorial on YouTube on how to colour correct underwater photos using GIMP that is conducted by a scuba diver from a dive club so we know this certainly has our best interests in mind as divers! He goes over three different methods using GIMP to colour correct and I think this tutorial is great.
Instead of having to use my older (and slower) Macbook with Photoshop, I’m going to use GIMP on my current laptop to colour correct from now on. I did read somewhere that GIMP can also colour correct underwater video footage but I just don’t know how to do it yet. Once I find the steps to do this, I’ll compare how GIMP performs against Shotcut and post a new article on this.
Testing GIMP Out
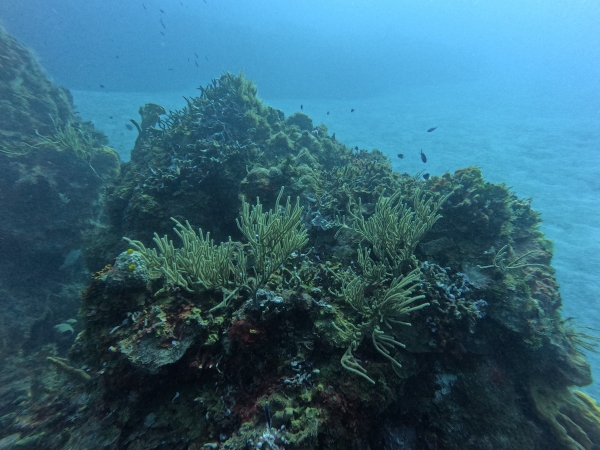
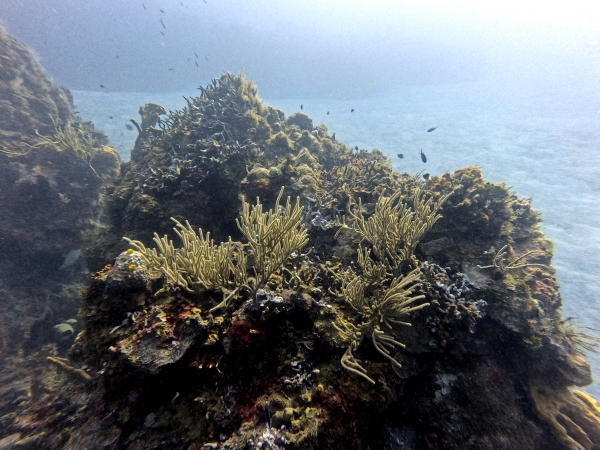
I had Greg and Tyler from our dive group send me some unedited, raw photos from their recent dive trips to test GIMP out as I didn’t have any raw photos since I tend to delete them after I colour correct images. Let’s see how GIMP fared. Here is a raw photo taken by Greg in Cozumel.
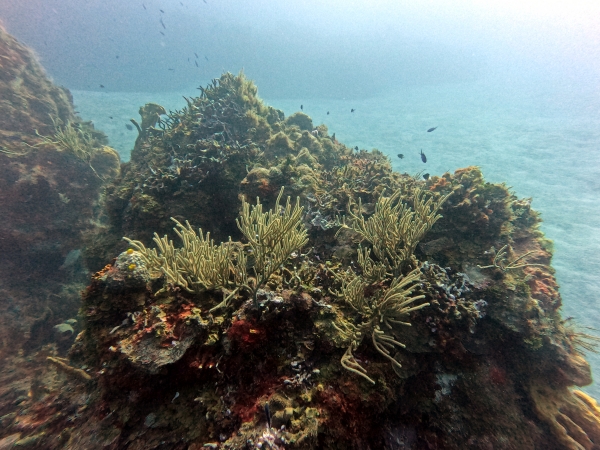
I used method #1 from the video tutorial above which was simply just an auto step for the result below. It’s pretty good considering it’s just a click.
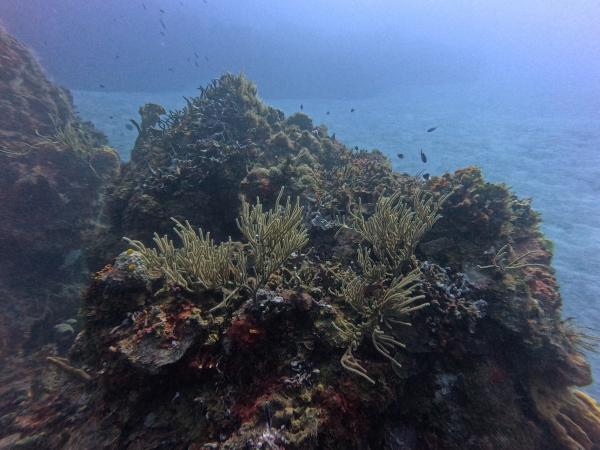
Next was method #2 which was adding on a red filter. Note that the video tutorial used a magenta filter which is for colour correcting cold, usually fresh water when raw images turn out green washed. So for tropical salt water which usually ends up with blue washed images like Greg’s original raw shot above, we need a red filter which is setting just the red channel at 255 while leaving the other colour channels as is.
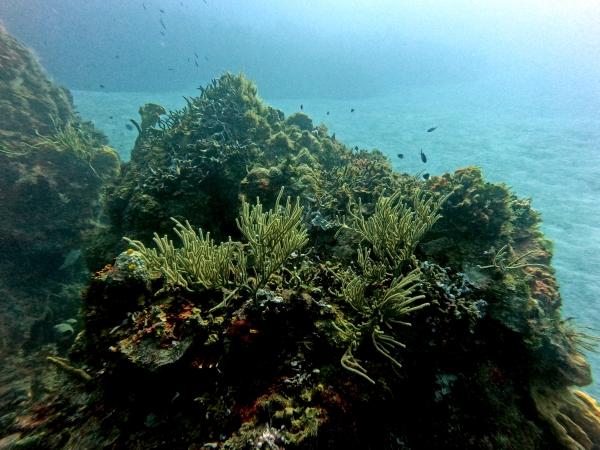
The last method shown in the video tutorial used the levels adjustments in GIMP and is the trickiest with the most adjustments needed. Here’s the result of using this method.
Out of curiosity, I wanted to compare the three methods used above in the video tutorial with the Photoshop type of steps for colour correcting but using GIMP instead of Photoshop. This utilized the software’s channel mixer as the first step. Here’s the result of using these Photoshop steps.
As you can see above, all four methods resulted in improvements over the original raw image. Keep in mind that I did all of these colour corrections very quickly and if one spent much more time tinkering around with each adjustment, I’m sure end results would be even better. Personally, I like the coral better with some of the methods while I prefer the water with the other methods. If I spent more time tweeking things, I’m sure I could have come up with the best for each part of the photo.
Now let’s take a look at two different photos that Tyler sent me with the first being this shot of barracudas in Cozumel.
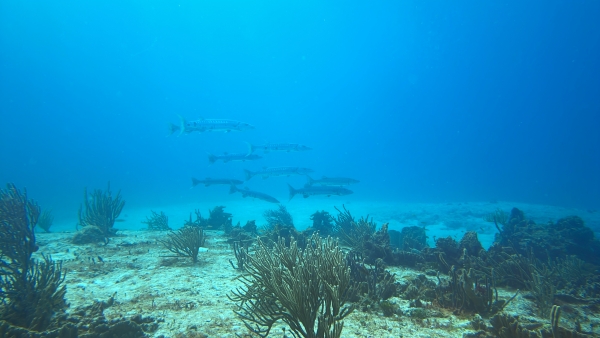
Each individual photo may require different methods and tweeking. Tyler’s images demonstrated this perfectly as methods #1 and #2 from the video tutorial produced terrible results not even worth showing. Only method #3 which was using levels adjustments produced an acceptable result as shown below.
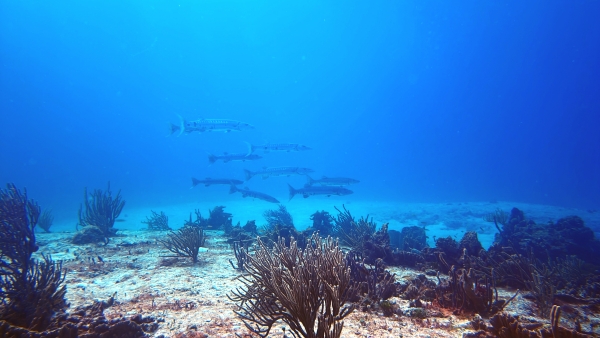
I decided to try out the Photoshop steps with the channel mixer and I think the result was better then the one above.

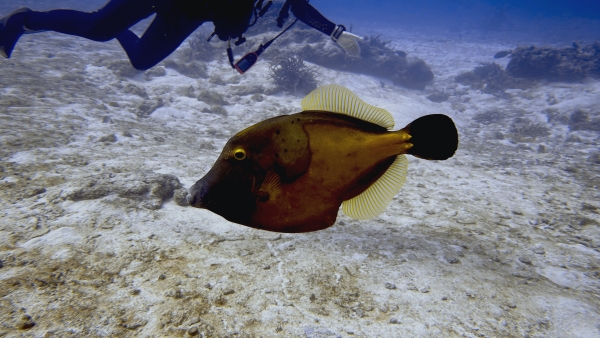
Tyler included a nice raw shot of a fish and of course this type of photo is definitely worth colour correcting instead of leaving it blue washed. You can always tell if a photo is raw by looking at the colour of the sand and the diver’s hand as they should not be blue (at least not on planet Earth).
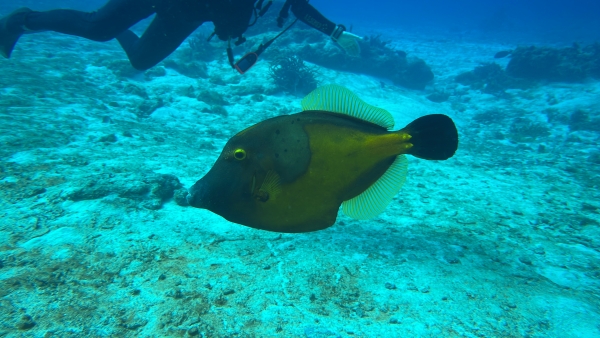
This image turned out to be a real challenge to colour correct for some reason as all three methods outlined in the video tutorial with GIMP failed miserably to turn out any half decent results. So I had to go back to the Photoshop steps using the channel mixer for this one and fortunately I ended up with a decent result shown below.
In the colour corrected shot above, both the sand and the diver’s hand colours are restored back to how they should look. If I spent more time, I could have found a way to make just the fish a bit brighter while leaving the sand the way it is in the colour corrected version.
So at least this first experiment with GIMP was successful if armed with four different methods for colour correcting at least in some basic, non-professional way. I no longer have to go back to my old laptop where the old version of Photoshop is and can simply do all of my colour correcting on my new Macbook using GIMP. I would recommend both Mac and Windows computer users to download the free GIMP software if they do not have a good photo editing program already installed.
I’m looking forward to trying out GIMP for colour correcting cold water shots from our upcoming local dive season this year to try out the magenta filter. I’m also interested in trying out GIMP in colour correcting underwater video footage and when I find the steps, I’ll post another article for that.
If you haven’t seen it yet, the video footage I collected for my Raja Ampat video has colour correction at its best (since much of the footage was already finished by the contributors). I think this footage sets the gold standard for colour correcting underwater video. Here’s a shorter version of the Raja Ampat video showing this – enjoy.
Update = on correcting video with GIMP – I learned that we cannot convert video to a smart object in GIMP like we can in Photoshop which would be a required step in order to affect all parts of a video footage rather than just one instance of it like a still frame. So this means that we cannot use Photoshop steps to colour correct video with GIMP. However, I also learned that the free video editor I’ve been using to colour correct video called Shotcut does work in both Mac and Windows. So everyone should be able to use Shotcut to colour correct underwater video on their computers.
